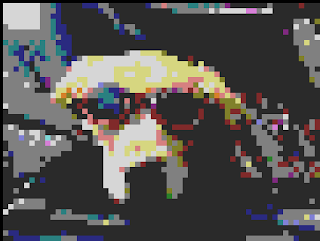
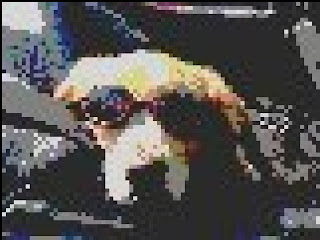
I used the large2 function, as described below, to enlarge the image by r=9 and saved the file as .png using imwrite. The image below looks much simpler to replace the pixels in, and imread("large27.png") displays the matrix with reduced color values in the range {42, 128, 214}.
 545x410
I reduced the image color to at most 27 colors using the same function as in Step 2 below, but saving the image as a .png file. In this way, imread("small27.png") displays a matrix with values only in the range {42, 128, 214}, as desired. It is more visible that colors have been reduced (versus when file was save as .jpg) in the image below:
I used the shrink2 function, with f=0.03 instead of f=0.04 because when the image was saved as .png using imwrite the resolution was clearer, to create the 61x46 image below:
 61x46
61x46
 61x46
61x46Step 3 - Enlarge the Image
I used the large2 function created in Assignment 8, which enlarges an image by sending each pixel to its nearest neighbor. For the smaller image, originally 40x30, I used a factor of 10; for the larger image, originally 81x61, I used a factor of 8. The new image sizes are beside each picture below. The images were saved using imwrite(newpic,double(L)(:,:,1)/255,double(L)(:,:,2)/255,double(L)(:,:,3)/255) within the large2 function. It is definitely easier to see Bannock in his "Doggles" in the image enlarged from the 81x61 pic.
 644x484
 395x295
Step 2 - Reduce Image Color
I used the following code to reduce the shrunken images to 27 colors:
A=imread("smalldoggles.jpg");
B=floor(double(A)/86)*86+42;
imwrite("smalldoggles27.jpg",double(B)(:,:,1)/255,double(B)(:,:,2)/255,double(B)(:,:,3)/255).
Reducing the image color, in both cases, further distorted the resolution of the images, so that it is a little harder to tell what the pictures are of. It is looking like I may go with the 81x61 image.


Step 1 - Shrink the Image
I used the shrink2 function created in Assignment 7, which scales down an image by sending each pixel to its nearest neighbor. A 20 x 20 image had too poor a resolution, even using this high contrast picture. The 81 x 61 is obviously more clear than the 40 x 30, but I think the image resolution is preserved enough in the 40 x 30 to be able to make out the picture. I will try the remaining steps on each to decide which size to use. It is hard to see here, but the resolution has been reduced in each picture so that individual pixels are more visible than the original.
I used the shrink2 function created in Assignment 7, which scales down an image by sending each pixel to its nearest neighbor. A 20 x 20 image had too poor a resolution, even using this high contrast picture. The 81 x 61 is obviously more clear than the 40 x 30, but I think the image resolution is preserved enough in the 40 x 30 to be able to make out the picture. I will try the remaining steps on each to decide which size to use. It is hard to see here, but the resolution has been reduced in each picture so that individual pixels are more visible than the original.


No comments:
Post a Comment